Shopify Klaviyo Integration: The Complete Setup Guide
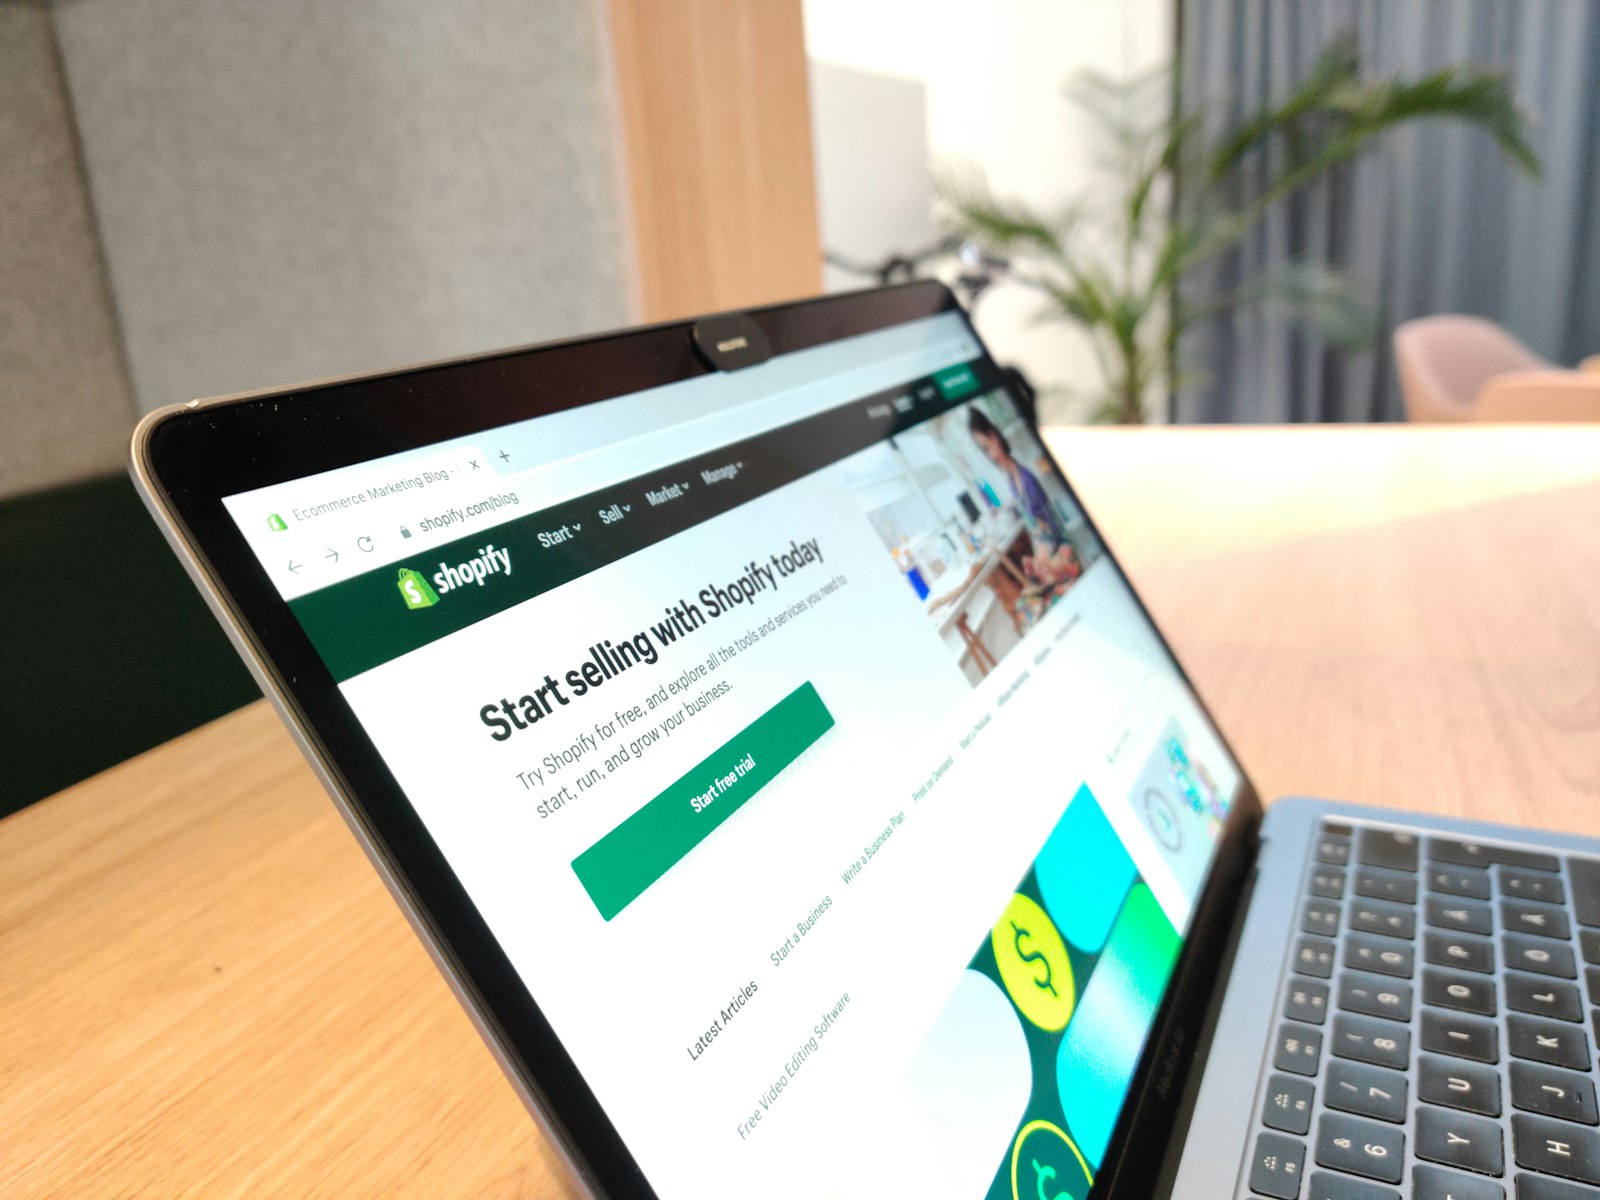
Yes, Klaviyo integrates directly with Shopify, and the connection covers real-time event syncing, profile data, onsite tracking, and signup forms. Once it’s live, every order, cart abandonment, and product view flows into Klaviyo automatically, giving you the data you need for segmented email and SMS campaigns without manual exports.
Here’s the fastest path to a working integration:
- Create or confirm your Klaviyo account and have your Shopify admin login ready
- Open Klaviyo, go to Integrations → Explore apps, and find Shopify
- Install the app and paste your store URL in the
mystore.myshopify.comformat - Authenticate to Shopify and approve the requested permissions
- Enable onsite tracking and the sync settings during setup
- Confirm the integration by checking for the green success banner in Klaviyo
Pro Tip: Watch for Shopify-branded metrics like “Placed Order” and “Viewed Product” appearing in your Klaviyo metrics list within a few minutes of connecting. That’s your clearest sign the Shopify data reference is syncing correctly, not just that the app installed.
If the banner shows green but no events appear after 15 to 20 minutes, skip ahead to the troubleshooting section below before assuming something’s broken.
Key Takeaways
Getting the technical connection right matters less than what you build on top of it: reliable triggers, mapped metrics, and flows that use synced data the way it’s meant to be used.
| Point | Details |
|---|---|
| Complete prerequisites first | Disconnect old ESPs and decide on consent checkboxes before installing to avoid duplicate opt-ins. |
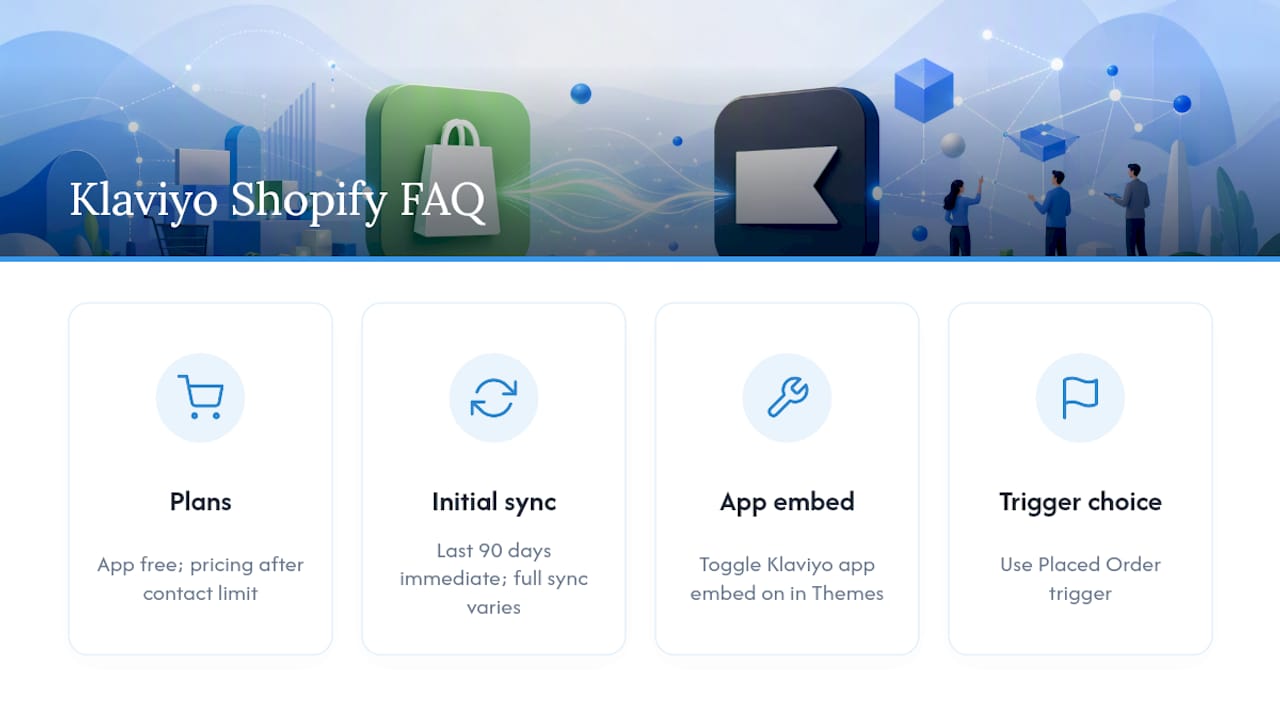
| Enable the app embed | Behavioral events like Viewed Product won’t fire until you toggle the embed on in your theme editor and save. |
| Use Placed Order as your trigger | Placed Order and Ordered Product can sync seconds apart, so Placed Order gives flows more reliable data. |
| Watch the 90-day sync window | Klaviyo pulls the last 90 days immediately, then runs historical sync before switching to real-time streaming. |
| Consider agency support for complex stacks | Vertical Brands handles implementation and flow architecture for stores with subscriptions, custom checkouts, or multi-channel needs. |
Table of Contents
- Accounts, Permissions, and What to Check Before You Connect
- How Do You Connect Klaviyo to a Shopify Store?
- Setting Up Onsite Tracking and Signup Forms Correctly
- What Shopify Data and Events Actually Sync to Klaviyo?
- Troubleshooting the Most Common Integration Problems
- Which Flows and Segments Should You Build First?
- When Does It Make Sense to Bring in an Agency?
- Where to Find the Official Documentation
- What Actually Matters Once the Integration Is Live
- Get Your Klaviyo Shopify Setup Built Right the First Time
- Frequently Asked Questions
- Sources
Accounts, Permissions, and What to Check Before You Connect
A clean Klaviyo Shopify setup depends more on what you do beforehand than what you click during the install. Skipping prep work is the single biggest reason store owners end up with duplicate emails, missing consent records, or a sync that silently fails.
Here’s what to confirm first:
- Store URL format. You’ll need your store’s
mystore.myshopify.comaddress, not your custom domain. Find it under Shopify Settings → Domains if you’re not sure. - Admin-level permissions. Whoever runs the integration needs owner or staff access with permission to install apps and edit theme code in Shopify, plus account owner or admin rights in Klaviyo.
- Disconnect any prior ESP. If Mailchimp, Omnisend, or another email tool is still connected to your Shopify checkout or theme, disconnect it before adding Klaviyo. Running two platforms in parallel commonly causes double opt-in emails and duplicate welcome sequences, since both tools try to claim the same new subscriber.
- Decide on consent checkboxes. Shopify lets you add email and SMS consent checkboxes at checkout. Most compliance-conscious brands leave these unchecked by default so subscribers actively opt in, rather than pre-checking them and risking consent that won’t hold up under GDPR or TCPA scrutiny.
- Back up your current lists. Export your existing subscriber lists, custom properties, and any segment logic from your old ESP before switching. If your checkout has custom code or a non-standard checkout flow, document those changes too, since they can affect which events fire correctly after migration.
The subscriber sync behavior matters here specifically: Klaviyo now syncs subscribers based on Shopify’s own subscription model rather than the older “Accepts Marketing” tag, a change Klaviyo rolled into its subscriber sync documentation. That means your pre-integration consent records carry real weight, so don’t rush this step to save ten minutes.
How Do You Connect Klaviyo to a Shopify Store?
The actual Klaviyo integration setup takes about ten minutes once your prerequisites are sorted. Here’s the full walkthrough.
Step 1: Start the integration from Klaviyo. Log into Klaviyo and navigate to Integrations in the left sidebar, then click Explore apps. Search for Shopify in the app directory and select it.
Step 2: Enter your store URL and authenticate.
You’ll be prompted to paste your mystore.myshopify.com URL. After you submit it, Klaviyo redirects you to Shopify’s login screen. Sign in with an account that has admin permissions, then review the permissions Klaviyo is requesting, things like access to customer data, orders, and theme editing.
Step 3: Click Install App and Integrate. Once you approve the permissions, Shopify installs the Klaviyo app on your store and sends you back to Klaviyo to finish configuration. This is where Klaviyo’s own step-by-step integration guide is worth having open in a second tab, since the exact screen layout shifts periodically as Klaviyo ships updates.
Step 4: Configure your sync checkboxes. You’ll see several sync toggles. Each one controls a distinct piece of the connection:
- Sync Shopify email subscribers — pulls existing email subscribers into a Klaviyo list based on their Shopify consent status
- Sync Shopify SMS subscribers — does the same for SMS opt-ins, though true historical SMS subscribers sometimes need a separate import if they predate the integration
- Sync Shopify Markets — relevant if you sell in multiple currencies or regions, so profile and order data reflects the correct market
- Sync profiles and profile data to Shopify — pushes Klaviyo-side profile updates back into Shopify’s customer records, keeping both systems aligned instead of Klaviyo being a one-way data sink
Turn on the boxes that match how you actually operate. If you don’t sell internationally, skip the Markets toggle. If you don’t run SMS campaigns yet, leave that one off for now. You can always come back and enable it later.
Step 5: Enable the Klaviyo app embed in your theme. This step trips up more merchants than any other part of the process. In Shopify, go to Online Store → Themes → Customize, then click the App embeds icon (it looks like a puzzle piece) in the left panel. Find Klaviyo in the list and toggle it on, then click Save. Without this step, onsite behavioral tracking, Viewed Product, Added to Cart, and Active on Site events, simply won’t fire, even though the core app connection looks healthy.
Step 6: Complete setup and watch the sync begin. Back in Klaviyo, finish the setup flow. You’ll see a progress indicator showing the initial data sync starting. This is normal and can take anywhere from a few minutes to several hours depending on your store’s order history and catalog size.
Step 7: Verify the integration is actually working. Check for two specific signals:
- A green success banner on the Klaviyo Shopify integration page confirming the connection is active
- Shopify-branded metrics appearing under Analytics → Metrics in Klaviyo, specifically look for “Placed Order,” “Checkout Started,” and “Viewed Product” showing recent activity
If both of those show up, your Klaviyo account setup is functioning correctly and data is flowing. If the banner is green but metrics stay empty after an hour, that’s almost always an app embed issue, and it’s worth rechecking Step 5 before doing anything else.
One detail worth flagging for teams managing multiple storefronts: each Shopify store needs its own Klaviyo integration instance. There’s no bulk-connect option, so agencies handling several client stores end up repeating this exact sequence store by store.
Setting Up Onsite Tracking and Signup Forms Correctly
Getting the app installed is only half the job. The onsite tracking settings determine whether Klaviyo actually sees what shoppers do on your site, and that behavioral data is what powers browse abandonment flows, product recommendation blocks, and win-back segments.
In the Onsite tracking section of your Klaviyo Shopify integration settings, you’ll find a toggle for Track behavioral events. Turning this on unlocks:
- Viewed Product — fires when someone opens a product page, the backbone of browse abandonment flows
- Active on Site — a general engagement signal useful for identifying warm, unengaged subscribers
- Added to Cart — captures cart activity even before checkout begins, separate from the later Checkout Started event
None of these events populate unless the app embed is also switched on inside your theme editor, a dependency that catches a surprising number of merchants off guard. It’s genuinely the most common gap between “I installed Klaviyo” and “Klaviyo is actually tracking my store,” a pattern confirmed in Klaviyo’s own setup documentation.
Pro Tip: After enabling the app embed, open your store in an incognito browser window and click through a few product pages. Then check Klaviyo’s metrics dashboard. If Viewed Product events show up within a minute or two, tracking is live. If they don’t, the embed toggle didn’t save, go back and re-save the theme.

Signup forms work on a separate but related layer. When you build a Klaviyo popup, flyout, or embedded form, you map it to a specific list during creation. A shopper who submits that form gets added to the mapped list, and their consent status (email, SMS, or both) syncs based on what fields the form collected and whether they checked an SMS consent box, if one was present.
If your store uses Shopify’s newer Checkout Extensibility framework, most standard event tracking works without extra configuration. Stores still running heavily customized checkout code, particularly older checkout.liquid customizations, sometimes need a developer to confirm that Checkout Started and Placed Order events still fire as expected, since custom scripts can interfere with Shopify’s native event pipeline. If your team relies on custom theme sections for tracking beyond what Klaviyo’s embed covers, a resource like Shopify SEO and site optimization guidance can help you audit theme performance alongside your tracking setup.
What Shopify Data and Events Actually Sync to Klaviyo?
Once the connection is live, Klaviyo tracks a defined set of Shopify events and profile fields. Knowing this list by heart saves you from guessing which metric to use when you’re building a flow trigger at 4 p.m. on a Friday.
The core events that sync include:
- Checkout Started — fires when a shopper begins checkout, the trigger for cart and checkout abandonment flows
- Placed Order — fires when an order is completed, Klaviyo’s recommended trigger for post-purchase flows
- Ordered Product — a line-item-level event tied to individual products within an order
- Fulfilled Order — fires when Shopify marks an order as fulfilled
- Refunded Order — tracks refunds, useful for suppressing upsell flows or triggering win-back sequences
- Confirmed Shipment / Delivered Shipment — shipment status events, though availability depends on whether your carrier integration reports these back to Shopify
- Active on Site, Viewed Product, Viewed Collection, Submitted Search, Added to Cart — the behavioral events covered by onsite tracking
Klaviyo documents the full list in its Shopify data reference, which is worth bookmarking rather than memorizing, since it’s updated as Shopify adds new event types.
Timing matters as much as the event list itself. When you first connect, Klaviyo pulls the last 90 days of Shopify data immediately, giving you a working dataset fast. Behind that, a full historical sync runs in the background, pulling in older order history, and how long that takes depends heavily on your store’s size. A store with a few thousand orders might finish in under an hour; a store with a decade of order history and hundreds of thousands of records can take considerably longer. Once historical sync completes, everything moves to real-time streaming, meaning new orders and events typically appear in Klaviyo within seconds.
On the profile side, Klaviyo syncs standard fields like name, email, phone, location, and order history, plus any custom properties you’ve set up in Shopify’s customer metafields. You choose which of these sync back to Shopify through the profile sync toggle covered earlier, useful if you want Klaviyo-calculated fields (like predicted lifetime value) visible inside your Shopify admin for customer service reps.
One nuance that trips up subscription and POS-heavy merchants: if you sell subscription products, those recurring orders flow through as standard Placed Order events by default, mixed in with one-time purchases. If your reporting or predictive models need to separate subscription revenue from one-off sales, Klaviyo’s mapped metrics feature lets you build a custom conversion metric that isolates the revenue source you actually want to measure.
Troubleshooting the Most Common Integration Problems
Most Shopify-Klaviyo issues trace back to one of five causes. Work through this list in order before opening a support ticket.
- Double emails or duplicate opt-ins. This almost always means a prior ESP is still connected somewhere in your checkout or theme. Go back and fully remove any legacy tracking snippets or app blocks left behind by the old platform.
- Events missing entirely. Check the app embed toggle first, it’s disabled by default on new theme installations and doesn’t carry over automatically when you switch themes. Also confirm the theme app block wasn’t accidentally removed during a recent theme update.
- No shipment events showing up. Confirmed Shipment and Delivered Shipment depend on your carrier passing tracking data back through Shopify. If your fulfillment provider doesn’t report status updates, those events simply won’t populate, and that’s expected, not a bug.
- Subscriber consent looks wrong. Historical subscribers sync based on their Shopify consent status at the time of connection. For profiles that already existed in Klaviyo before the integration, Klaviyo uses whichever consent timestamp is more recent between the two platforms, which can produce results that look inconsistent if you’re not expecting that logic.
- Flows skipping subscribers unexpectedly. Because Placed Order and Ordered Product can sync into Klaviyo seconds apart, flows triggered on Ordered Product sometimes fire before Placed Order data (like total order value) is fully available, causing filter conditions to fail. Klaviyo’s own guidance recommends using Placed Order as your default flow trigger for this exact reason.
If you’ve worked through all five and something still looks broken after 24 hours, that’s the point to escalate, either to Klaviyo’s support team through your account, or to a developer if the issue traces back to custom checkout code.
Which Flows and Segments Should You Build First?
Once data is flowing cleanly, the real value shows up in what you build on top of it. Three flows consistently deliver the fastest return: a welcome series triggered off new subscriber sign-up, a checkout abandonment flow triggered on Checkout Started, and a post-purchase flow triggered on Placed Order that nudges toward fulfillment updates and review requests.
Segmentation gets sharper once you have synced properties to work with:
- A high-lifetime-value segment built from total spend and order count
- Repeat buyers of a specific product category, useful for replenishment timing
- Subscribers who’ve viewed a product three or more times without purchasing, a strong browse-abandonment target
Pro Tip: Before launching any campaign off newly synced data, send yourself a test order and confirm Placed Order, Ordered Product, and Fulfilled Order all appear in your Klaviyo timeline with the correct values. A five-minute check now saves a broken flow reaching thousands of subscribers later.
Mapped metrics matter here too. If your predictive analytics or CLV models mix subscription and one-time revenue, aligning your reporting metric to the right revenue source keeps those models accurate rather than skewed by recurring orders. Treating the integration as the start of a broader lifecycle architecture, not a one-time setup task, is what separates stores that get real ROI from Klaviyo and stores that just have another app installed.
When Does It Make Sense to Bring in an Agency?
DIY setup works well for straightforward Shopify stores with standard checkouts and modest catalogs. The calculation changes once you’re dealing with multiple sales channels, subscription products layered over one-time purchases, custom checkout code, or a catalog large enough that historical sync and event mapping genuinely need a trained eye.
Vertical Brands works across brand strategy, performance marketing, and implementation for ecommerce brands running exactly this kind of stack, handling not just the technical connection but the flow architecture and measurement setup that turns synced data into revenue.
FACEGYM saw a 50% increase in purchases and a 41% rise in bookings after a properly executed lifecycle marketing overhaul, the kind of result that depends on clean event data and well-mapped flows working together, not just having Klaviyo installed.
Consider briefing an agency when:
- Your checkout runs custom code that might interfere with standard event tracking
- You’re managing subscription and one-time revenue that needs separate reporting
- You need cross-channel orchestration between email, SMS, and paid media working off the same dataset
Where to Find the Official Documentation
For the exact screens and settings referenced throughout this guide, these are the primary sources worth bookmarking:
- Klaviyo’s Getting started with Shopify guide covers the full installation and onsite tracking setup
- The Shopify data reference lists every event and property that syncs, along with sync timing details
- The Klaviyo Shopify App Store listing shows current pricing tiers and feature updates as Klaviyo ships them
What Actually Matters Once the Integration Is Live
Most guides treat the Klaviyo Shopify integration as a finish line. It isn’t. The install takes ten minutes; getting genuine value out of the data takes weeks of watching how events actually behave in your specific store.
The overlooked risk isn’t the setup, it’s assuming synced data is automatically clean data. Subscription orders blending into your Placed Order metric, shipment events silently missing because a carrier doesn’t report them, flows firing on Ordered Product before order totals settle, none of these break the integration. They just quietly distort the segments and flows built on top of it.
If you take one thing from this guide, prioritize verification over speed. Send test orders. Check that behavioral events fire before you launch a browse abandonment flow to your full list. The stores that get real ROI from Klaviyo aren’t the ones that installed it fastest, they’re the ones that treated the first month as a data audit, not a victory lap.
Get Your Klaviyo Shopify Setup Built Right the First Time
A DIY install gets your data flowing. It doesn’t guarantee your flows are triggering off the right events, your segments reflect real buying behavior, or your reporting separates subscription revenue from one-time sales the way it should. That gap is where a lot of stores quietly lose weeks of email revenue without realizing anything’s wrong.
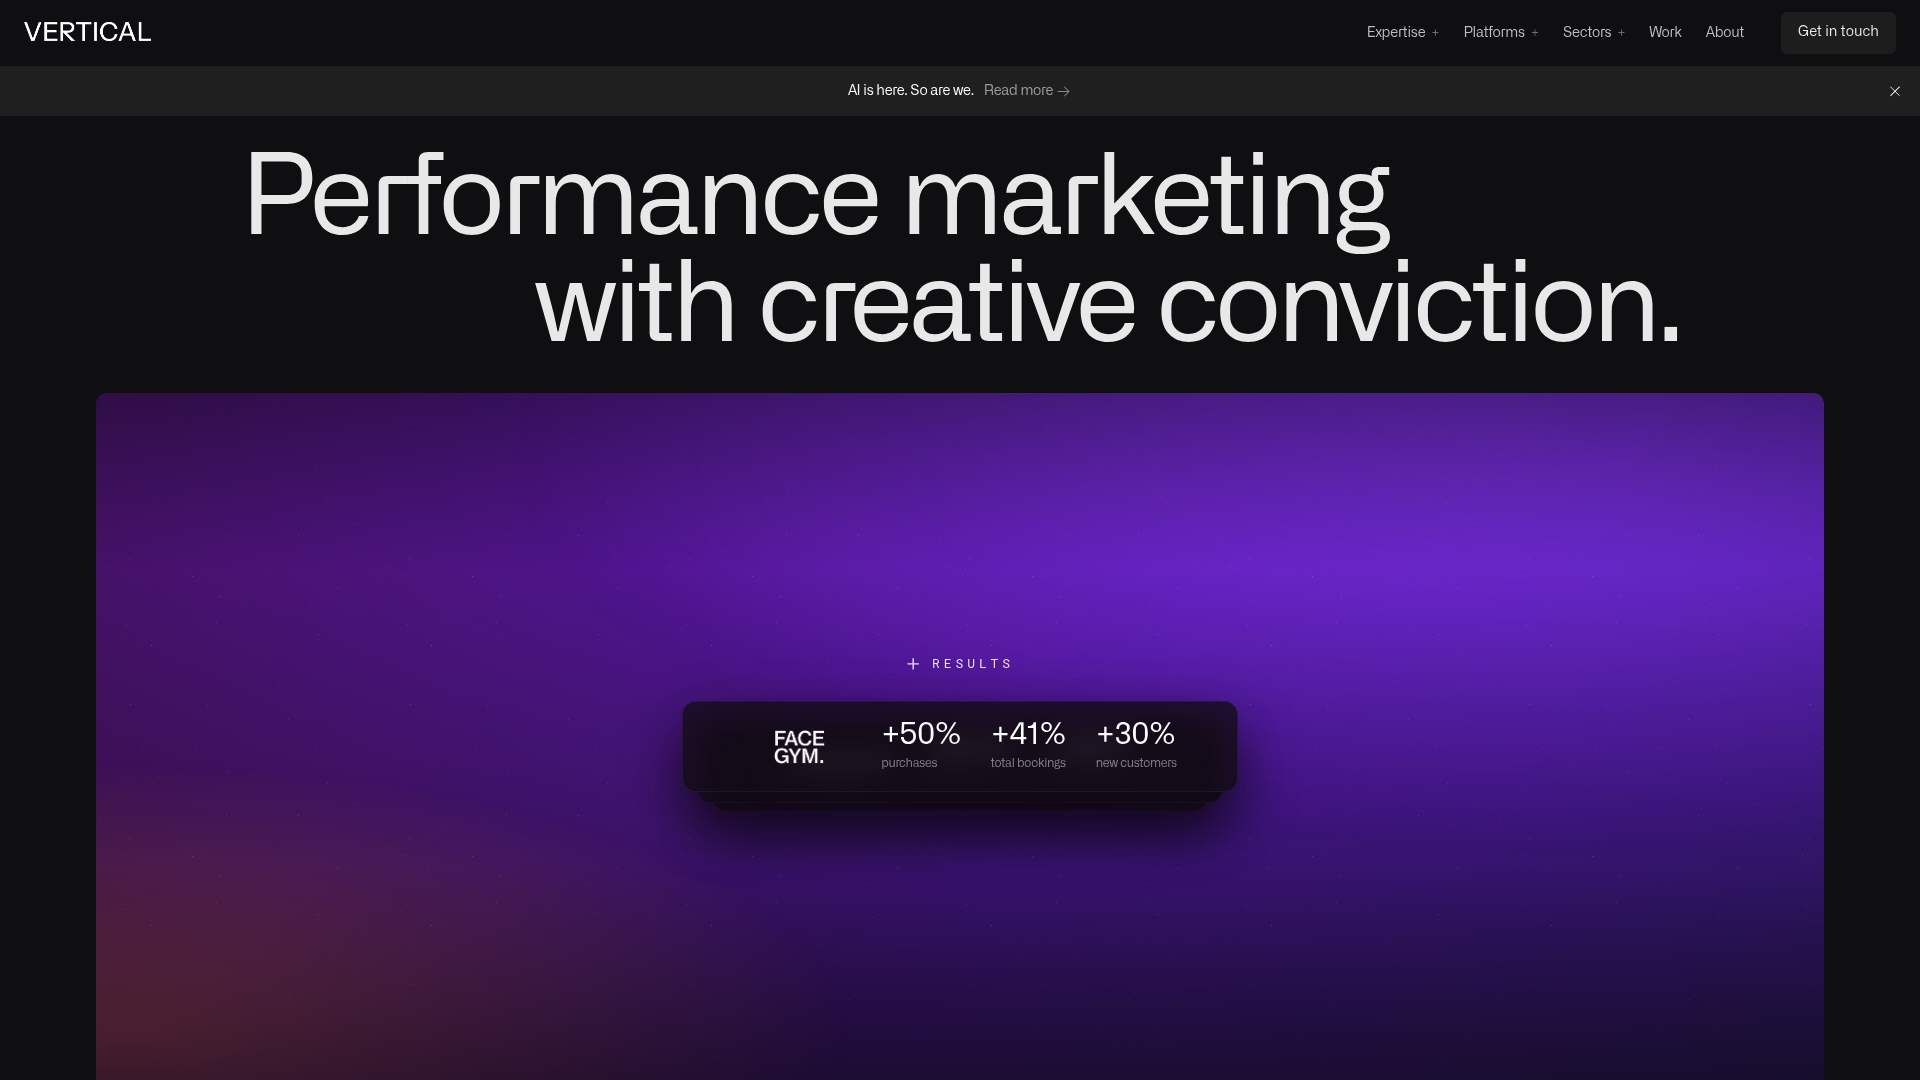
Vertical Brands builds the full picture: implementation, flow architecture, segmentation, and measurement setup, so your Klaviyo Shopify integration isn’t just connected, it’s actually driving purchases and repeat orders.
If your store has custom checkout code, subscription products, or a catalog large enough that manual verification feels overwhelming to manage alone, request an audit from Vertical Brands and get a clear read on what’s working, what’s misconfigured, and what to fix first.
Frequently Asked Questions
Does Klaviyo work with every Shopify plan? Klaviyo’s Shopify integration works across Shopify’s standard plans. The app itself installs free, with usage-based pricing tiers that scale once you exceed Klaviyo’s entry-level contact limits, as listed on its Shopify App Store page.
How long does the initial Klaviyo Shopify sync take? Klaviyo pulls your last 90 days of data almost immediately. Full historical sync runs afterward and its duration depends on your store’s order volume, ranging from under an hour for smaller stores to considerably longer for stores with years of order history.
Why aren’t my Viewed Product or Active on Site events showing up? This is almost always caused by the app embed being switched off in your Shopify theme editor. Go to Online Store → Themes → Customize → App embeds and confirm Klaviyo is toggled on and saved.
Should I use Placed Order or Ordered Product to trigger my flows? Use Placed Order. Because Placed Order and Ordered Product can sync into Klaviyo seconds apart, flows triggered on Ordered Product sometimes evaluate filter conditions before full order data is available.
Do I need to keep SMS consent checkboxes checked by default at checkout? No. Most compliance-conscious merchants leave SMS and email consent checkboxes unchecked by default at checkout, requiring shoppers to actively opt in rather than pre-selecting consent for them.
Sources
Recommended

Other posts























































Stay ahead with better decisions.
Get business insights today.
